Hide “Recent” link in classic mode

win

Hello everyone,

Today in the “Quick Win” section, I’ll talk about a small trick regarding “Recent” link in the navigation.

What is it?

The “Recent” link is a link added by SharePoint when you add a new app in your site and when you choose to NOT add it to the current navigation …

recent01.png


How to remove it?

Yeah, I really don’t know why Microsoft decided to add this feature, on most of my customer, when the navigation is defined, they don’t like to see it brutally changed without their permission.

First attempt to delete this annoying stuff, go to the navigation and click “Delete”. Yeah, it should work but…

If you don’t have the publishing infrastructure set on your site, you need to provide an url to the recent to be able to remove it (…) !

recent02

If you add a new app, the link gets back..

recent03


How to get rid of it?

First, I know my solution is not a wonderfull solution but it’s working as expected.   To do this, you will need to have the publishing infrastructure activated.

Create a SharePoint Group called “Recent Reader” and remove all the people from it.

recent04

Go to the navigation and apply an audience on the Recent link for the “Recent Reader” group.

recent05


Voila!

The link won’t be visible by anyone after that!


Hoping this helps!


Christopher


Quick Win – Change default permission on site “Share”

win

Hello everyone,

Today I’ll talk about the default access you can give to people using the “Share” functionality on site level.

When you share a site, depending on your permission on the current site, you will have one of the two following processes

Case 1: you don’t have the permission to give access.

During the share, you will see this screen.

01

And there is a new request for the site owner on the “Access Request” list

03

In this request, the site owner can choose another group or give direct access to the person.

04


05

Case 2: you have the permission to give access.

02

In this screen, you can see that you invite people to “EDIT”. You can choose another group or give direct access to the person.


What if I don’t want them to EDIT but to READ by default?

If you want to set another group as the default group for Share functionality, you can just specify the wanted group as the default group for the site.

For this

  1. Go to “Site Settings” and click the “People and Groups”
  2. Select the group you want as default one
  3. Click on “Settings” and again on “Make Default Group”

06


When it’s done, if you share the site, you can see that the permission requested if the group you just specified

07


Note: The Share will only works if the target people doesn’t have access to the site. If you set the default group as “Members” and someone is already a “Visitor”, the share won’t ask for him to be added in the “Members” group.


Hoping this helps

Christopher.


Quick Win – Show PDF file preview in classic mode

win

Hello everyone,

Today, in the “Quick Wins” series I will talk about the preview of pdf document in SharePoint in “Classic” mode.

Problematic

As a user,

I want to see the preview of my pdf documents in my library and in my search result

In order to take advantage of this functionality in the same way as for office documents.

Cause

By default PDF files do not display the preview in the call-out menu

In libraries

pdfpreview01

In search result
pdfpreview02

Resolution

In order to use the preview of a PDF, we will tell SharePoint to use Word’s functionality for PDF files.

In libraries

We will use a jsLink file to integrate on desired views. The script to use is the following

window.onload = function () {

SP.SOD.executeFunc('filePreview.js', null, function () {

embeddedWACPreview.dimensions["pdf"] = embeddedWACPreview.dimensions["docx"];

filePreviewManager.previewers.extensionToPreviewerMap["pdf"] = filePreviewManager.previewers.extensionToPreviewerMap["docx"];

});

};

Put this script in a .js file, store it in a library in your site collection, and populate the jsLink in the view.

In search result
Simply create a result type based on the one used for Word and tell it to target pdf documents..

Go to the “Site settings”

In the “Search” section, click “Result Types”

pdfpreview03

Scroll down to Result Type “Microsoft Word” and click “Copy”

pdfpreview04

Give the name you want (PDF) ,choose the “PDF” content type and click “Save”

pdfpreview05.png

Results

In libraries

pdfpreview06

In search result

pdfpreview07.png

Hoping this helps!

Christopher

Quick Win – Contribute No Delete

win

Hello everyone.

Today I will talk about a specific configuration of the permissions

Problematic

As an administrator of my site,

I want my members to be able to add files / items but not to be able to delete them

In order to avoid unwanted deletion of information.

Reason

The standard permission level for members is “Edit”. This level of permission is sometimes replaced by the lower level “Contribute”. These rights allow members to participate in the addition of information to the site but also by default to delete the content.

Contribute no delete (1)

Resolution

To resolve this issue, we will create a new permission level that we will call “Contribute – No Delete”. We will apply it to the member group at the site level.

Go in the site settings

Contribute no delete (2)

Under “Users and Permissions”, click on “Site Permissions”

Contribute no delete (3)

On the ribbon, click on the “Permission Levels” links

Contribute no delete (4)

Choose the permission level “Contribute”

Contribute no delete (5)

Scroll down and click on the “Copy Permission Level” button

Contribute no delete (6)

Add the name “Contribute – No Delete”, set a description and untick the “Delete Items” and “Delete Versions” permissions

Contribute no delete (7)

Scroll down and click on “Create”

Contribute no delete (8)

The permission level is created, go back to the “Site Permission” by clicking the “Permissions” link

Contribute no delete (9)

Select the “Members” group and click on “Edit User Permissions”

Contribute no delete (10)

Select only the “Contribute – No Delete” permission level and click on ok

Contribute no delete (11)

Now your members will see this in the ribbon when they select an item

Contribute no delete (12)

“Edit item” is accessible but “Delete Item” is greyed out.

Hoping it helps.

Christopher.

Quick Win : Allow multiple contributors on Drop-off Library items

win

Hello everyone,

Today in the Quick Win series, I will talk about a problem that may arise when working with the Content Organizer feature.

Problematic

As a reminder, the content organizer allows to classify a document based on rules. These rules are based on the metadata value and allow you to move the document to the right place.

This feature is really useful but has strange behavior.

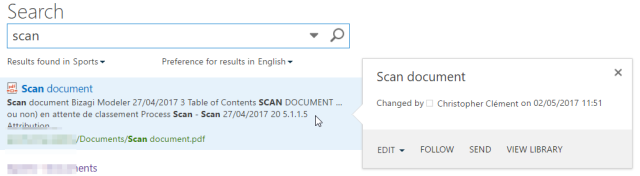
When a person edits the properties of a document in the drop-off library and does not complete the information necessary to be classified, the document is no longer visible to other users!

Cause

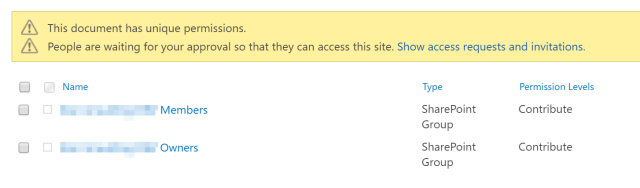
When a document is added to the library, it naturally inherits permissions associated with that list.

0102

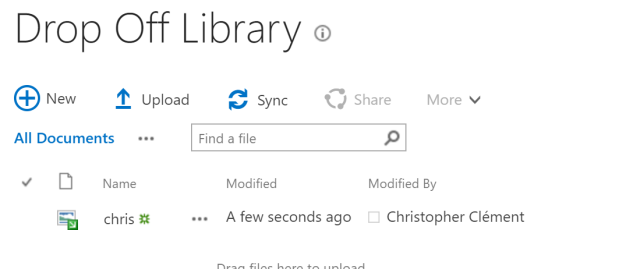
When a user edits the properties of this document, the document continues the process but remains in the drop-off library. However, an additional action is done by SharePoint => Break permissions, remove existing one and give access directly to the current user!

03

It has more than once happened that the business requirement is that several people can process a document, and potentially add each some information, before the document is finally classified.

Resolution

Several solutions are possible since this comes from a business need. In the first case, we could think of using several libraries with workflows to transfer from one library to another but it seems to me “overkill”.

I prefer to opt for the simple solution, keep the document in the drop-off library and prevent SharePoint from breaking the security! To do this, the simplest solution is to do it before it! Indeed, if the document has permissions broken, SharePoint no longer removes the permissions associated with the document!

To put this in place, SharePoint designer is our friend!

NB : I know that SharePoint Designer will not last long but currently it is a solution that works both On Premise and Online.

Steps

Create a SharePoint 2010 workflow

04

Use an Impersonation Step and remove the default step

05

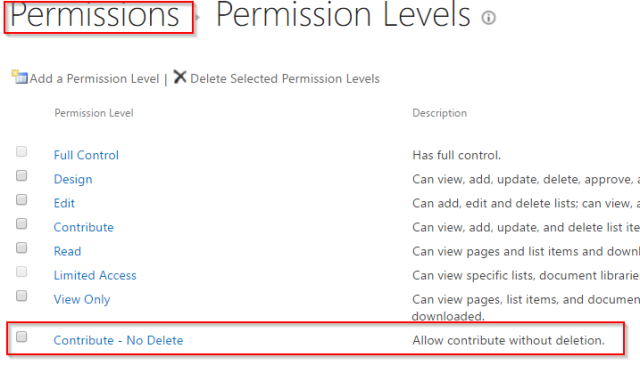
Add Action « Replace List Item Permissions »

06

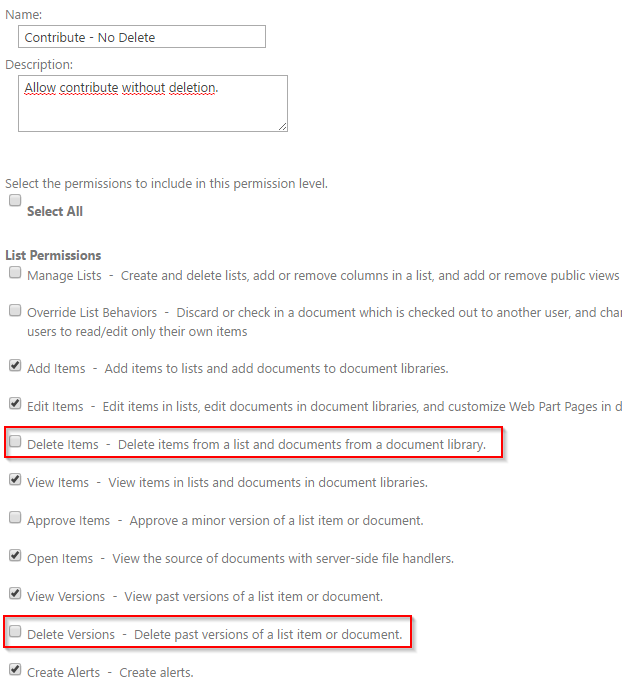
Give the contribution permission to the people who will use the list

07

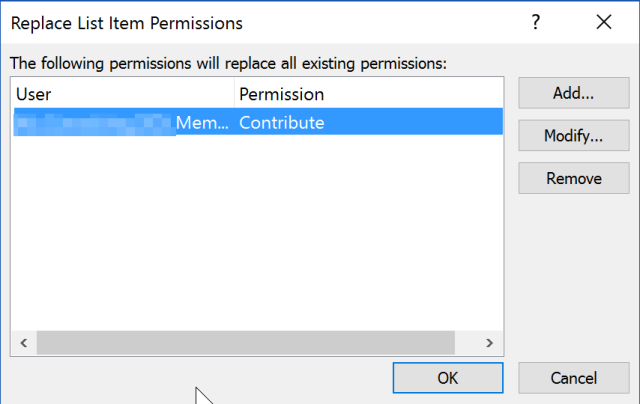
Specify that the action should take place on the current item

08

Go to workflow settings

09

Configure the workflow to start automatically when updating a document

10.png

Publish workflow

11

When the data in a document are changed and submitted, the workflow will update the permissions with what you have specified

12


NB: Of course, once at destination the document will no longer have the specific permissions set in the drop-off.

Hoping this helps

Christopher


Quick Win – Display more view in the selector

win

Hello everyone,

Today I will inaugurate a new type of post that I want to set up, quick wins.

The purpose of these articles is to show a quick configuration to meet a common business need.

Problematic

As a user

I want to see more views in the view selector

In order to have more choice without clicking the ellipse

Cause

By default, the SharePoint view selector (in classic view) shows only 3 views among the views defined.

viewselector1

Resolution

By adding a JavaScript on the page, you can display more views. (Replace the 5 number by the number of view you want to display).

ExecuteOrDelayUntilScriptLoaded(overrideSurfacePivotCount, 'clienttemplates.js');
function overrideSurfacePivotCount() {
ClientPivotControl.prototype.SurfacedPivotCount = 5;
};

viewselector2

Hoping this helps.

Christopher.